
Published November 2, 2026
When Primer Is Needed on Painted Walls
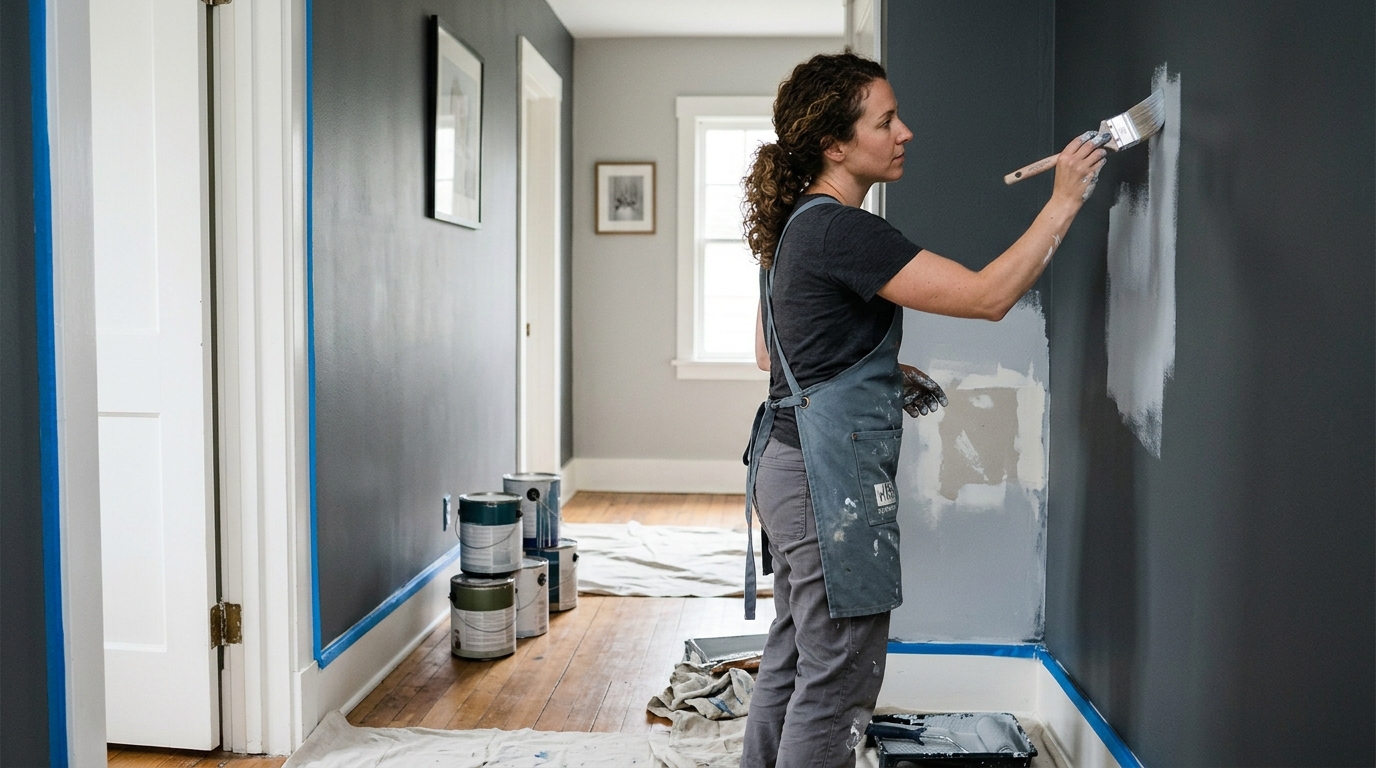
Is primer needed when repainting walls? It depends on what's on the wall, and no single rule covers every room. A wall that's already painted, sound, clean and in decent shape, and moving to a similar colour and sheen, can often skip a full coat of primer. A wall that's patched, stained, glossy, chalky or heading for a dramatic colour change usually can't.
Here's how we sort it on a walkthrough. Primer earns its place in these situations:
- Repairs and patches. Spackle, joint compound and bare drywall are porous and soak up paint differently than the wall around them. Spot-prime every patch, or the repair will show as a dull, flat spot even under two coats of topcoat.
- Stains. Water, smoke, grease and marker bleed through ordinary paint. They need a stain-blocking primer first.
- Glossy surfaces. Paint doesn't grip a slick, shiny finish well. Scuff-sanding and priming give the new coat something to hold.
- Big colour changes. Going from deep red or navy to a pale neutral is the classic case. A good primer saves topcoats and gives truer colour.
- Humid rooms. Bathrooms are more prone to mildew, which is one more reason to prime there, as Clare notes.
If none of those apply, meaning the wall is in good condition and the colour change is modest, you can usually go straight to paint. Primer typically costs less than paint, so priming where it's called for can even cost less than burning through extra topcoats. It all comes down to condition, so the first job is judging that condition honestly.
Assess the Existing Finish with the PCA P14 Levels
"Condition" stays vague until you put a name on it. The Painting Contractors Association's PCA P14 standard defines four levels of surface preparation for previously painted surfaces, and it asks whoever picks a level to weigh both appearance and cost. We write our scopes on that same scale, and you can see how we apply it on our PCA P14 prep levels page.
At the bottom sits Level 1, the minimum acceptable: wash off dust and dirt, and remove obvious flaking paint. That fits a wall whose existing paint is tight, clean and uniform. If your wall genuinely lives there, primer isn't automatically part of the picture.
As condition worsens, the prep climbs. Chalking, scattered cracks, failed caulk, patches of loose coating and repaired sections push a job to a higher level, and that's where spot-priming and full priming enter the scope. We won't quote the exact tolerances of the middle levels from memory. Read the standard yourself, or ask us to walk your walls and tell you which level fits.
A few quick checks you can run before anyone arrives:
- Wipe test. Rub a damp cloth over a small area. If colour comes off on the cloth, the paint is chalking and needs more than a wash.
- Scratch test. Press a fingernail into the paint near an edge. If it lifts in a flake, adhesion is questionable.
- Light test. Hold a flashlight at a low angle along the wall. Patches, ridges and sheen differences jump out.
- Sheen check. If the wall is semi-gloss or gloss, plan on scuff-sanding and priming.
None of this replaces an experienced eye, but it tells you whether you're looking at a simple repaint or something with more prep behind it.
When Self-Priming Paint Falls Short
Walk the paint aisle and you'll see cans promising "paint and primer in one." Be careful with that phrase. As Ring's End points out, "self-priming paint" is a marketing term, and two coats of it are said to suffice only over a light colour on walls in excellent condition. That's a narrow set of conditions.
These paints do well on a sound, evenly coloured wall when you're staying in the same colour family. A thicker, higher-solids formula can lay down a nice uniform film there, and a separate primer would be an extra step with little payoff.
They fall short exactly where primer matters most:
- Dramatic colour changes. Covering a dark wall with a light colour usually takes more than a self-priming topcoat, and you can end up rolling on three or four coats of expensive paint to get even coverage.
- Patched areas. Repairs need spot-priming. A self-priming topcoat over fresh joint compound often leaves the patch looking different from the rest of the wall, a flaw called "flashing."
- Stains. Water, smoke and grease marks bleed through unless a stain-blocking primer seals them.
- Glossy or chalky surfaces. A coating's grip depends on the surface beneath it, and a self-priming label doesn't change that.
Our approach is simple: use the right tool for the job. On a clean, sound wall in a similar colour, a good-quality paint may be all you need. On anything else, we prime the problem areas, or the whole wall if the colour change or the surface calls for it, and then topcoat. It costs a little more time up front and saves coats, and callbacks, later.
Peeling Paint and Moisture: Fix the Cause First
If your wall is already peeling, primer is the smaller question. The bigger one is why the paint let go. Peeling is adhesion failure, meaning the film stopped gripping what's underneath, and as Tradehand explains, painting over it will peel again. New primer and paint can't hold on a bad foundation.
The causes usually trace back to a short list:
- Moisture from leaks, condensation or chronic humidity behind or within the wall
- Poor preparation the last time around: dust, grease, or a glossy or chalky surface left unaddressed
- Incompatible coatings, such as latex over an oil-based paint without proper prep
- Too many layers built up over the years
- Low-quality or old paint
The repair sequence follows the cause. Scrape back to a firm edge so nothing loose remains, fix whatever caused the failure, prime the bare and exposed areas, then repaint. Skip the second step and you've bought yourself a repeat of the same problem in a season or two.
Moisture deserves special attention because it's the usual culprit in bathrooms, near windows and on exterior-facing walls. A leaky fitting, a failed seal or a bathroom fan that doesn't move enough air will defeat any coating you put on top. If the peeling keeps returning to the same spot, look behind the paint before you reach for the brush.
Where the failed area is drywall damaged by water, the answer may be repair rather than repainting. Our drywall repair and texture matching work covers that, so the patch, the primer and the topcoat all blend into the surrounding wall.
Humidity and Drying in Everett and Snohomish County
Painting here has its own wrinkle: our damp seasons. Long stretches of cool, wet weather mean higher indoor humidity, condensation on windows, and slower-drying paint. The general advice in national blogs doesn't account for that, but it affects how you plan a repaint.
A few things follow from living in this climate:
- Watch windows and exterior walls. Condensation that runs down a window and onto the wall below is a steady source of moisture. Walls in that zone are prime candidates for adhesion trouble and mildew, and they're worth priming with a product suited to the job.
- Ventilate during and after painting. Paint needs airflow to cure properly. On a humid, overcast day, drying and recoat times stretch, so don't rush a second coat onto a film that hasn't set.
- Give bathrooms extra care. Steam is a daily event in a bathroom. Make sure the fan works and runs long enough, and prime there rather than trusting the old paint to carry you.
- Schedule with the weather in mind. Interior work depends less on weather than exterior work does, but opening windows on a dry day makes a real difference to how the paint cures.
We keep these conditions in mind when we scope and sequence a job. If your project also reaches outside, our exterior painting crews deal with the same moisture issues from the other side of the wall.
Getting a Clear Written Scope and Estimate
This question is worth settling before the work starts because "primer or no primer" can quietly be the difference between two estimates that look identical. One contractor may include spot-priming, patch repair and scuff-sanding. Another may price a quick topcoat and leave those out. You won't see the gap until the paint starts to fail.
That's why we put the preparation in writing, measured against the PCA P14 scale. A good written scope tells you:
- Which surfaces get washed, scraped, sanded, patched and primed, and which don't
- Which prep level applies to each area
- How many coats of what product, and where
- What happens if we find a problem behind the paint, such as moisture or damaged drywall
With that in hand, you can compare estimates on equal terms and know what you're paying for. We'd rather tell you a wall in good shape can skip a full prime coat than sell you steps you don't need, and we'd rather tell you plainly when a wall needs more than a repaint. Whether you're asking is primer needed when repainting walls or weighing a full project, the written scope is where that answer becomes clear.
If you'd like a second opinion on your own walls, request an estimate and we'll look at the actual surfaces, tell you what level of preparation fits, and write it down. You can also read how past clients describe working with us on our testimonials page, or learn more about the people behind the work on our about page. Our full range of interior painting work is there too, if the project is bigger than a single room.